Over time, your contacts list becomes a digital junkyard. Old coworkers you will never call again, businesses you contacted once three years ago, duplicate entries for people who changed their number, and mystery names you cannot place. It happens to everyone, and it makes finding the people you actually need to reach far harder than it should be.
Cleaning up your contacts list is one of those tasks that feels overwhelming until you actually start. With a clear process and the right tools, you can turn a bloated, messy address book into a streamlined list of the people who genuinely matter in your life.
Why Your Contacts List Needs Regular Cleaning
Table of Contents
Most people never think about maintaining their contacts until something goes wrong. Maybe you accidentally text the wrong person because you have three entries for “Mike.” Maybe you cannot find your dentist’s number because it is buried under 1,500 other contacts. Or maybe you switched phones and ended up with a confusing mess of duplicated and incomplete entries.
A cluttered contact list is more than just an annoyance. It slows you down when you need to reach someone quickly, it leads to awkward mistakes, and it creates a sense of digital overwhelm that many people underestimate. On the professional side, failing to maintain your contact list can mean losing touch with valuable connections or missing important follow ups.
Regular contact cleanup, even just once every few months, keeps your address book functional and your network accessible.
Before You Start: Back Up Your Contacts
Before deleting anything, make sure you have a backup. Export your contacts from your phone or email client to a CSV or vCard file. On iPhone, your contacts are backed up through iCloud automatically if that setting is enabled. Google Contacts users can export their entire list from contacts.google.com by selecting “Export” in the sidebar.
Having a backup means you can be decisive during the cleanup process without worrying about accidentally removing someone important. If you realize weeks later that you deleted a contact you still needed, you can always recover it from your backup file.
Step 1: Delete Contacts You Do Not Recognize
Start with the easiest wins. Scroll through your contacts and look for entries that mean nothing to you. These might be names you cannot place, phone numbers with no name attached, or businesses you do not remember contacting.
If a contact has no identifying information beyond a phone number, and you have no idea who it belongs to, it is safe to remove. The same goes for contacts from services or businesses you no longer use. That pizza place from your old neighborhood? The plumber from two apartments ago? Let them go.
If you are unsure about a contact, move it to a temporary “Review” group instead of deleting it immediately. After a month, if you still have not needed it, you can safely remove it.
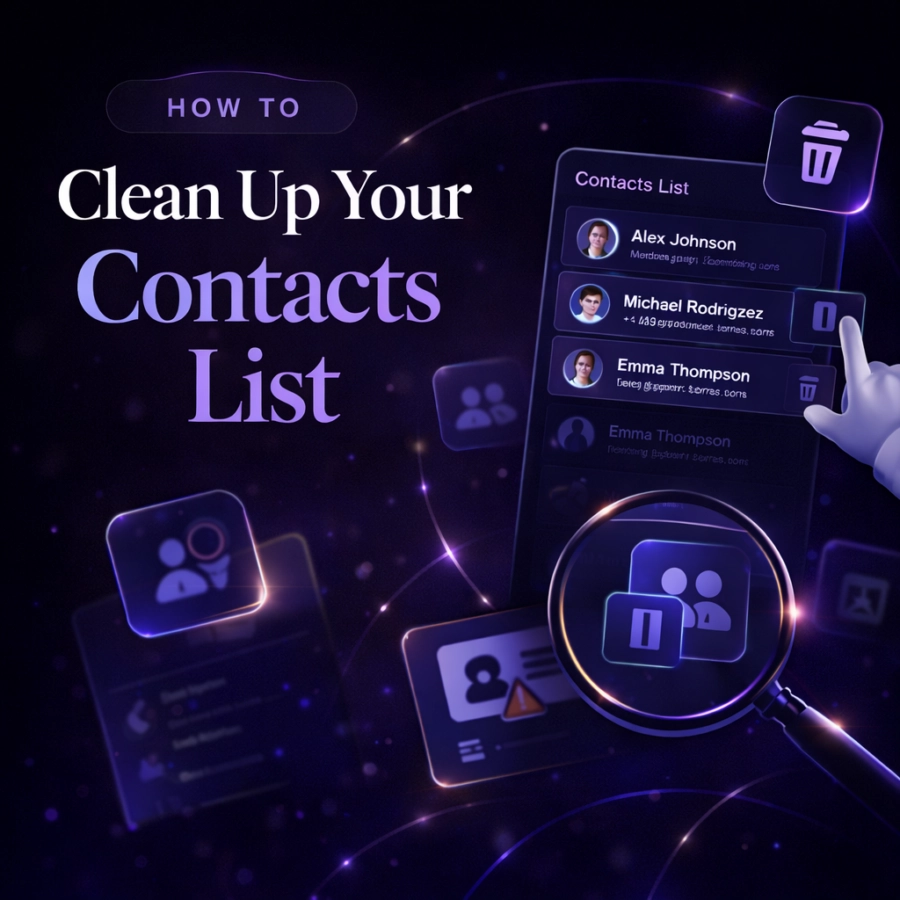
Step 2: Merge Duplicate Contacts
Duplicates are the most common source of contact list bloat. They happen when you sync contacts across multiple platforms, import contacts from email, or simply save the same person’s details more than once with slightly different information.
Both iOS and Google Contacts have built in duplicate detection features. On iPhone, open the Contacts app and look for suggestions to merge duplicate entries. In Google Contacts, navigate to the “Merge and fix” section in the left sidebar to see suggested merges.
When merging duplicates, review the information on each entry before combining them. Sometimes one version has an old phone number while the other has the current one, or one has an email address the other is missing. The goal is to end up with one complete, accurate entry for each person.
For a more detailed walkthrough of this process, check out our step by step guide on how to remove duplicate contacts.
Step 3: Update Outdated Information
After removing unknowns and merging duplicates, turn your attention to contacts with outdated information. Look for entries where you know the person has changed jobs, moved, or gotten a new phone number, but your contact still shows the old details.
For professional contacts, a quick visit to their LinkedIn profile can confirm their current title and company. For friends and family, a simple message like “Hey, just cleaning up my contacts. Is this still your current number?” works perfectly and often sparks a nice conversation in the process.
Pay special attention to email addresses, which tend to go stale faster than phone numbers. People change jobs, switch providers, or stop using certain accounts. If you have bounced emails from a contact, it is time to update their entry.
Step 4: Fill in Missing Information
Many contacts in your list probably have incomplete information. Maybe you saved someone’s phone number but never added their email, or you have their work number but not their personal one. Now is the time to fill in those gaps.
Focus on your most important contacts first. For each one, make sure you have at minimum their full name, primary phone number, and email address. If you interact with them professionally, add their company and job title. If they are a personal contact, consider adding their birthday or other details that help you maintain the relationship.
Adding notes is another powerful way to enhance your contact entries. Where did you meet this person? What did you talk about last? Do they have kids, and what are their names? These details might seem small, but they make a big difference when you want to follow up in a meaningful way.
Step 5: Organize with Tags and Groups
Once your contacts are clean and complete, organize them into categories that match your life. Tags and groups let you find the right people quickly and understand your network at a glance.
Start broad: Family, Friends, Work, Clients, Services. Then add more specific tags as they make sense. “College Friends,” “Gym Buddies,” “Q1 Leads,” or “Conference Contacts 2026” are all useful categories depending on your situation.
The key is not to overthink it. A contact can have multiple tags, so you do not need to choose just one category for each person. Your friend who is also a colleague can be tagged as both “Friends” and “Work” without any conflict.
For more on this topic, see our detailed guide on how to tag and group contacts effectively.
Step 6: Set Up a Maintenance Schedule
The biggest mistake people make with contact cleanup is treating it as a one time event. Your contact list is a living thing. New entries get added every week, information changes, and without regular attention, it drifts right back into chaos.
A simple maintenance routine can prevent this. After adding a new contact, take 30 seconds to fill in complete information and add appropriate tags right away. Once a month, spend 10 minutes scanning for duplicates and removing contacts you no longer need. Every three to six months, do a more thorough review to update outdated information and reorganize groups as your life changes.
This approach takes minimal time but keeps your contact list permanently clean and useful.
How Dextr Solves Contact Cleanup Challenges
Dextr is designed to make contact management effortless, and that includes keeping your list clean and organized over time.
With Dextr, you can tag and categorize contacts instantly, add detailed notes after every interaction, and set reminders to follow up with people you might otherwise forget. The app helps you identify contacts you have been out of touch with, making it easy to reconnect or decide if it is time to let that connection go.
Unlike basic phone contacts that only store names and numbers, Dextr treats each contact as a relationship. You can track conversation history, note important details about each person, and organize your network in a way that reflects how you actually think about the people in your life.
If you are tired of a cluttered, unhelpful contact list, Dextr gives you the tools to clean it up and keep it that way.